**formatting is weird on this post, and I can't seem to fix it**
This morning by 7:30 the kids were sitting at their little table eating cereal, coffee had been brewed and I was running a load of dishes, and my mother in law was upstairs in my bathroom, doing this:
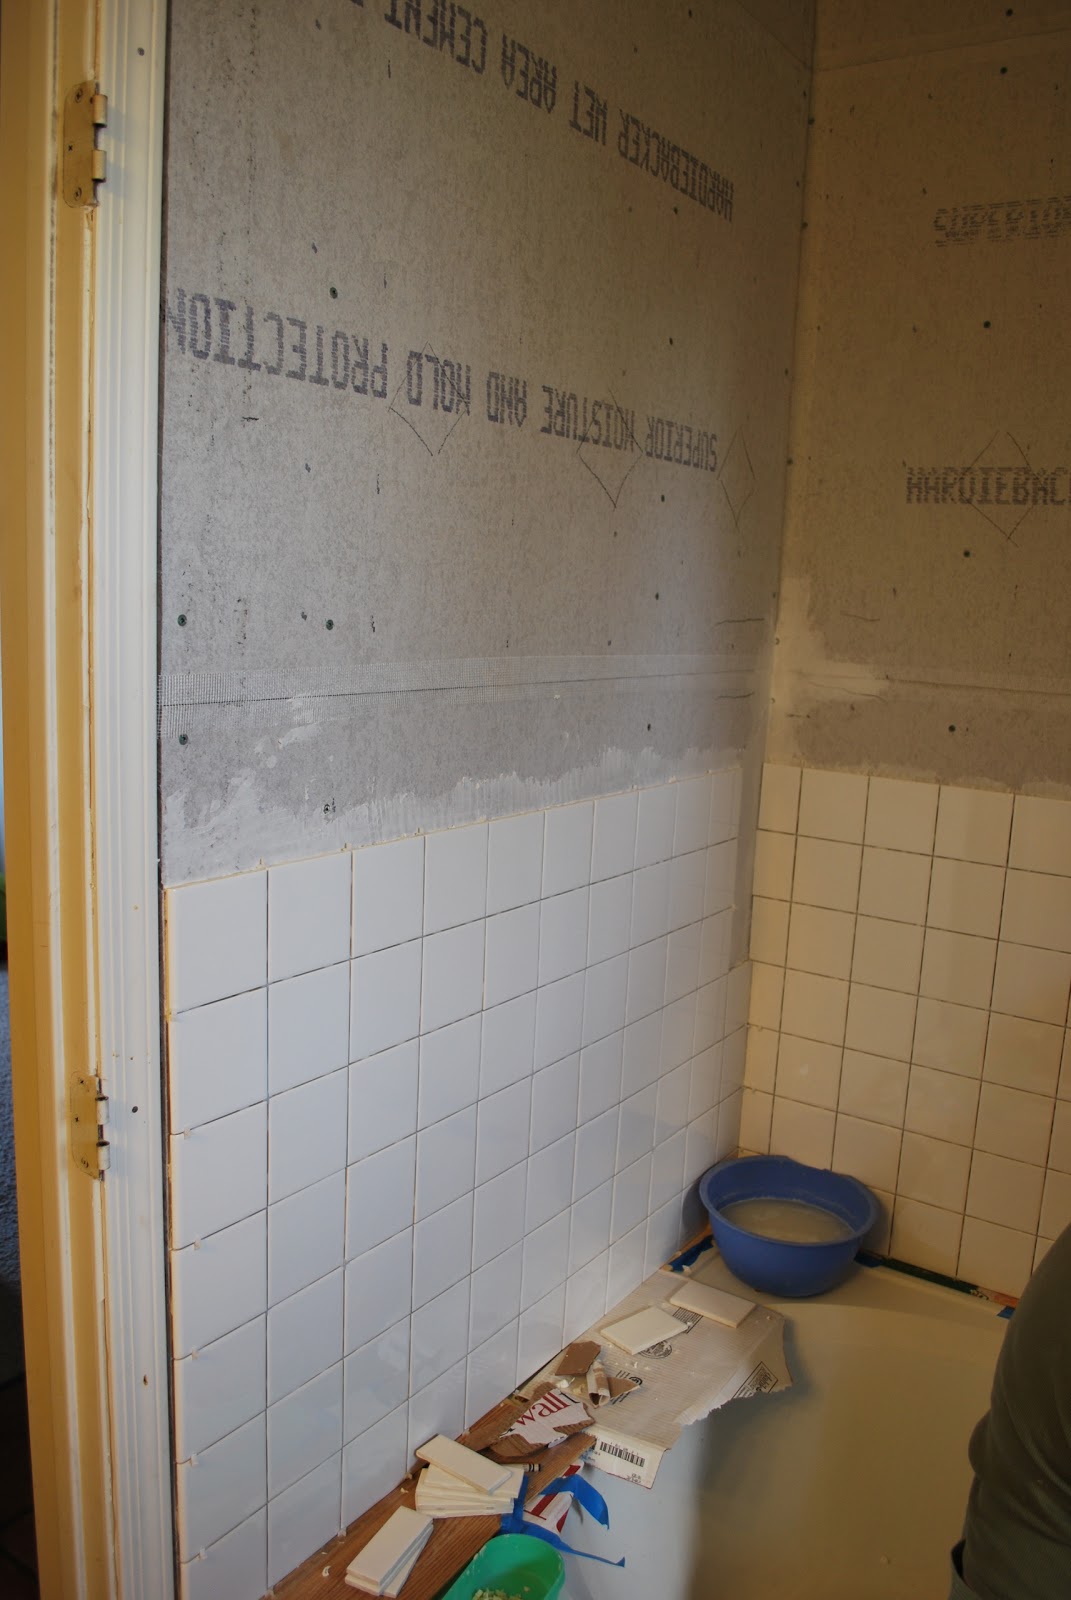
While I was in D.C. two weekends back, Darrick and his step dad spent a good chuck of time ensuring the bath faucet was installed properly and putting up a layer of underlayment particle board and Hardiebacker on the short walls around the tub. Initially we planned on just using 1 layer of Hardibacker on each wall, but that left too big a gap between the Hardiebacker and the tub lip, so doubling up was a necessity.
Last weekend we didn't have time to do any substantial work, so we called in reinforcements in the form of my mother in law for today. She showed up ready to work, and since she's tiled a few shower surrounds in the past we were happy to hand over the tiles and let her take the lead.
The first few rows are the hardest. Because our tub sits on a frame made of wood, the sides bow down a bit and the corners are higher. That meant we needed to put shims in below the first row and very carefully lay those tiles so they were level and not necessarily lined up with the top of the tub. The back wall went in first, then the side walls, starting with the bottom two rows of each. Once those were in, we did some cuts to fill the space around the faucet and where the handle will be. This was, by far, the most time consuming part of the day. Once that was done, I joined my mother in law in the bathroom to help her. I took the short wall that houses the faucet and she did the installation of the bullnose pieces that wrap around that wall. You can see below where we did that. We opted to wrap around with bullnose pieces rather than end the tile on that wall and use edge pieces because it was easier overall. Using edge pieces would have required us to put in a metal or plastic strip on the corner where the drywall meets the Hardibacker, and also would have meant patching the drywall and texturing.

Once we made it up to a height we'd pre-agreed upon, it was time to add our corner shelves. These were made by the same company that makes the wall tiles, which is great because it means the finish is the same and they are made to fit in with the wall tiles. We used a lot of the tile adhesive to affix the shelves to the Hardibacker directly, then left it alone for about an hour.

And THEN....we did this!

::swoon:: Isn't it pretty?!?!
These little glass tiles are from Home Depot, and I'm officially in love. We originally bought it with another use in mind, but staring down that wall and imagining it all white made me change my mind. These tiles are mounted on an adhesive plastic, so all we had to do was use a blade to cut them into rows two high. The non-adhesive side is placed onto the Omni mix and then you let it sit for at least an hour before removing the plastic.
For that little section of wall below, I popped the tiles off the plastic and applied them individually. This space was too small for 6 tiles across, but too big for 5 unless I hand-placed them spaced out a bit more than the others.

Annnnd...Taaaa Daaaaaa!!!!

It's only about halfway done, of course, but I'm so happy with the progress we made and how well it's going so far.
No comments:
Post a Comment