I can interrupt this regularly scheduled bathroom update post to share something adorable: Mo's newest phrase. Whenever he wants something and you ask him to wait he says, "It's going to take you a couple whiles!" I love it. Who knows what a 'couple whiles' is, but in kid-land it must be for-e-ver.
So, back to the bathroom. Last weekend we tiled, so the next step was grout. Grout, grout, beautiful grout. After much research over the best kind of grout for our needs (second floor, bathroom) and out upkeep interests (minimal), we opted for Laticrete SpectraLOCK, which was super expensive but is supposed to last and stay beautiful forever. I was all ready to do the grouting, gloves on and mix ready to open, when Darrick ran upstairs and insisted that since he's grouted before he should do the work and I should mix the packages as we went. I was annoyed with this change of plans, but I gave in and handed him the grout float and the first bucket.
Best. Decision. Ever.
It took near an hour for him to spread this stuff in our tiny bathroom (about 65 square feet), and when all was said and done his palms had plenty of blisters. The thing about this stuff is it lasts forever, so it's a bitch to put down.
"So, was it worth it?" you ask.


I would give that question a Hell Yes answer.
Once the grout was spread into the gaps between tiles, I followed up with a big bucket of water + white vinegar and a sponge and cleaned the excess off the tiles using big circles. I started near the toilet area where Darrick had started the tiling and I was very happy to see that as I ran the sponge over the grout lines the grout became really smooth. About 40 minutes later, we cleaned it again in the same method, and then the next day Darrick did one last pass.
Beautiful.
With the floor done for now, we wanted to revisit the bathroom cabinets we have had sitting in our dining area for over a week now. In part because we wanted to see how they were going to work out, and moreso because Mo's birthday party is at our house this coming weekend and I wanted them upstairs and out of the way. Once we carried it all up, however, our suspicions were confirmed and we realized we needed to rebalance the frame we built to go under each cabinet. Luckily Darrick figured out we could just back out the screws that were in place with the drill, set everything up, and then re-screw it all back together nice and level.

A close up of the cabinets. You can see the line between the body of it and the riser here. We'll touch up with some caulk and cover those screws when it's all done.


This side of the cabinet is streaky, but this one will actually go against the wall. You can see where the old countertop backsplash landed (where the wall goes from whiteish to greenish), which is just about the height the cabinet is at now.
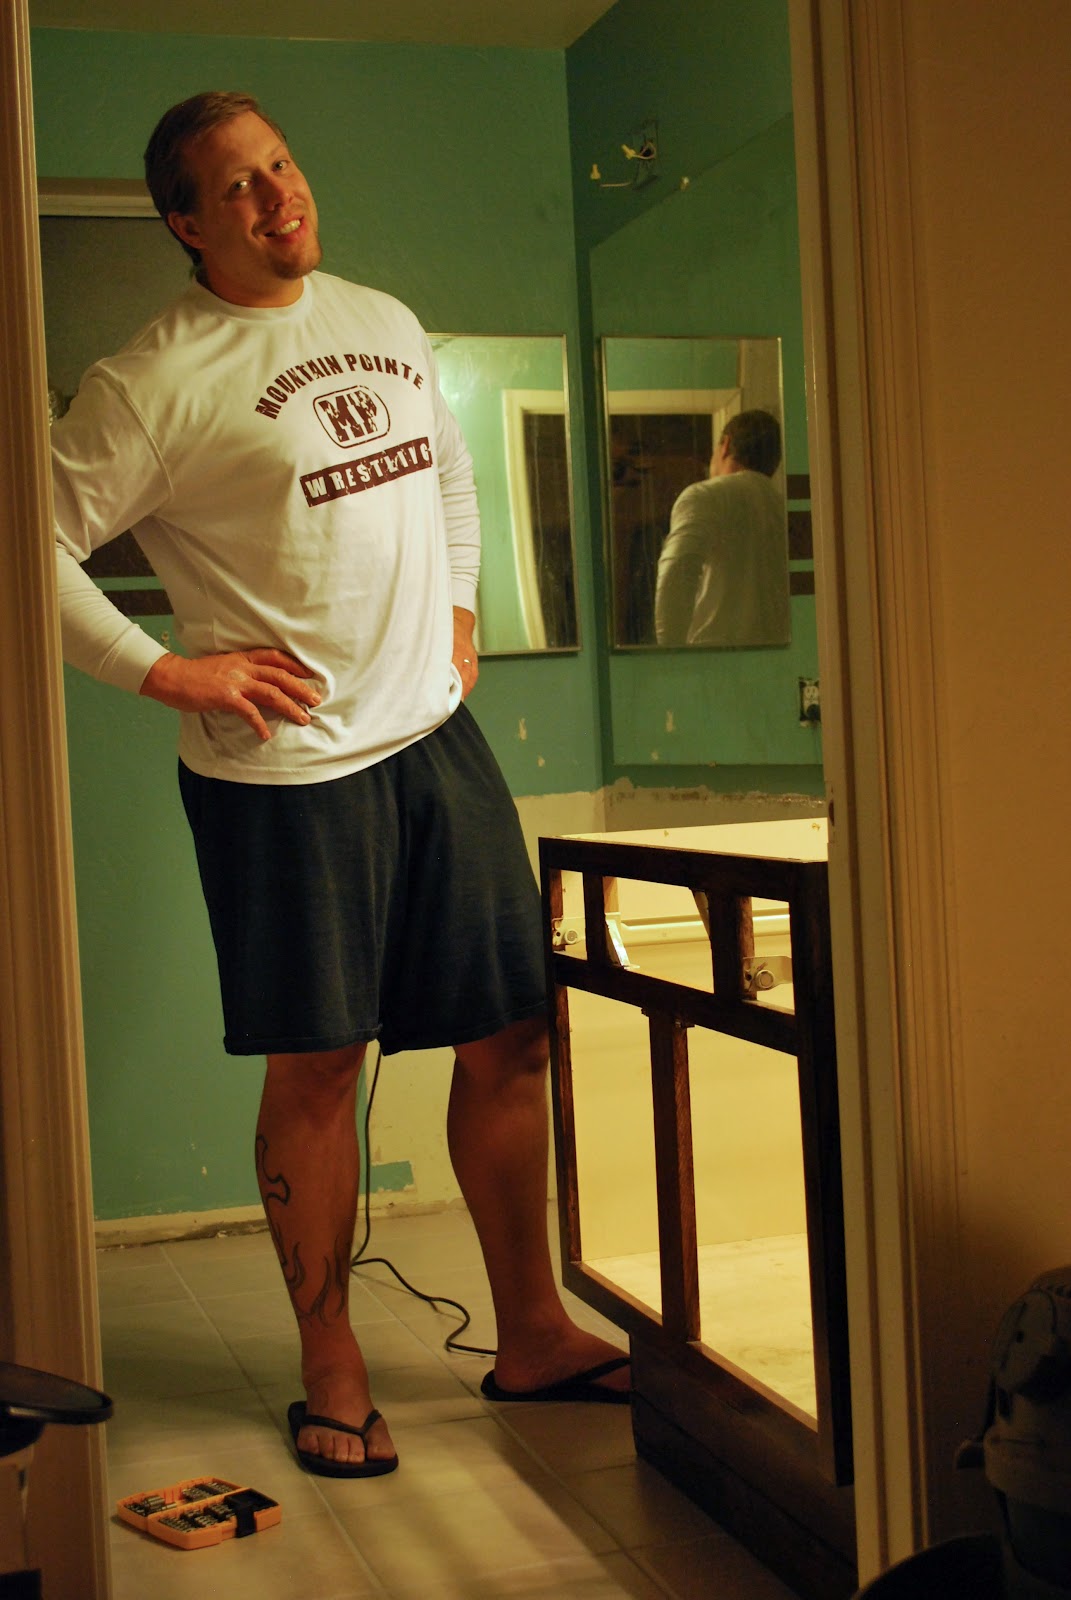
The happy carpenter?
We are happy with this height and how we think it'll look when it'd done. We need to move the plumbing connections up a few inches, reattach the doors and drawer fronts, and choose counter tops. When we do that last step, we may need to make a change to the big mirror on the wall as well. I'm leaning toward removing it and replacing with two smaller mirrors, then putting some kind of shelving between the cabinets. Darrick is leaning toward keeping it and either moving it up a few inches (so the backsplash doesn't overlap it) or using a special saw his parents own (with a diamond blade) to trim some inches from the bottom. Time will tell where we land, I guess.
The last time I updated our to-do list we added quite a few things to it, and it's grown even since then:
-
-
-
- Cut away water-damaged drywall in garage ceiling
- Put in new insulation and replace drywall.
-
- Buy new counter tops and
- Move sink plumbing on both sides to accomdate taller cabinets
- Move, replace, or cut down mirror to accomodate new taller cabinets
-
- Replace toilet flange and put in new toilet
-
- Repaint bathroom ceiling and walls
-
-
- Tile new shower surround
- Tile front of tub
-
- Paint room
- Reinstall fixtures on walls
- Reinstall bathroom lights
- Installation of cabinets (either refinished old ones with risers
- Paint and install new baseboards OR use tile as baseboard
- Installation of countertops (either current one or new)
- Put in new faucets
- Add new shower curtain and bath mats and toilet paper roll
- Look into storage options in room
No comments:
Post a Comment